1. Ultimate Guide: Achieving an Immaculate Desktop Computer Setup

1. Ultimate Guide: Achieving an Immaculate Desktop Computer Setup
Quick Links
- Use a Motherboard With Backside Power Connectors
- Stock Up on Zip Ties and Velcro Straps
- Get Custom PSU Cables for the GPU
- Mount the GPU Vertically and Use an Angled GPU Power Adapter
- Use a CPU Air Cooler Instead of an AIO
- Use SATA SSDs and HDDs Only if They Aren’t Visible
- Forget About NVMe SSDs With Custom Heatsinks
- Use Modular, Cableless Case Fans
- Get a 4-Stick RAM Kit or Use Dummy RAM Sticks
- Do Not Mix and Match Colors
Are you planning to build a new PC and want it to be as clean as possible? No RGB, no power and fan cables messing up the internal aesthetics, and immaculate cable management? If that’s the case, read on and find out how to build the super clean PC of your dreams.
1 Use a Motherboard With Backside Power Connectors
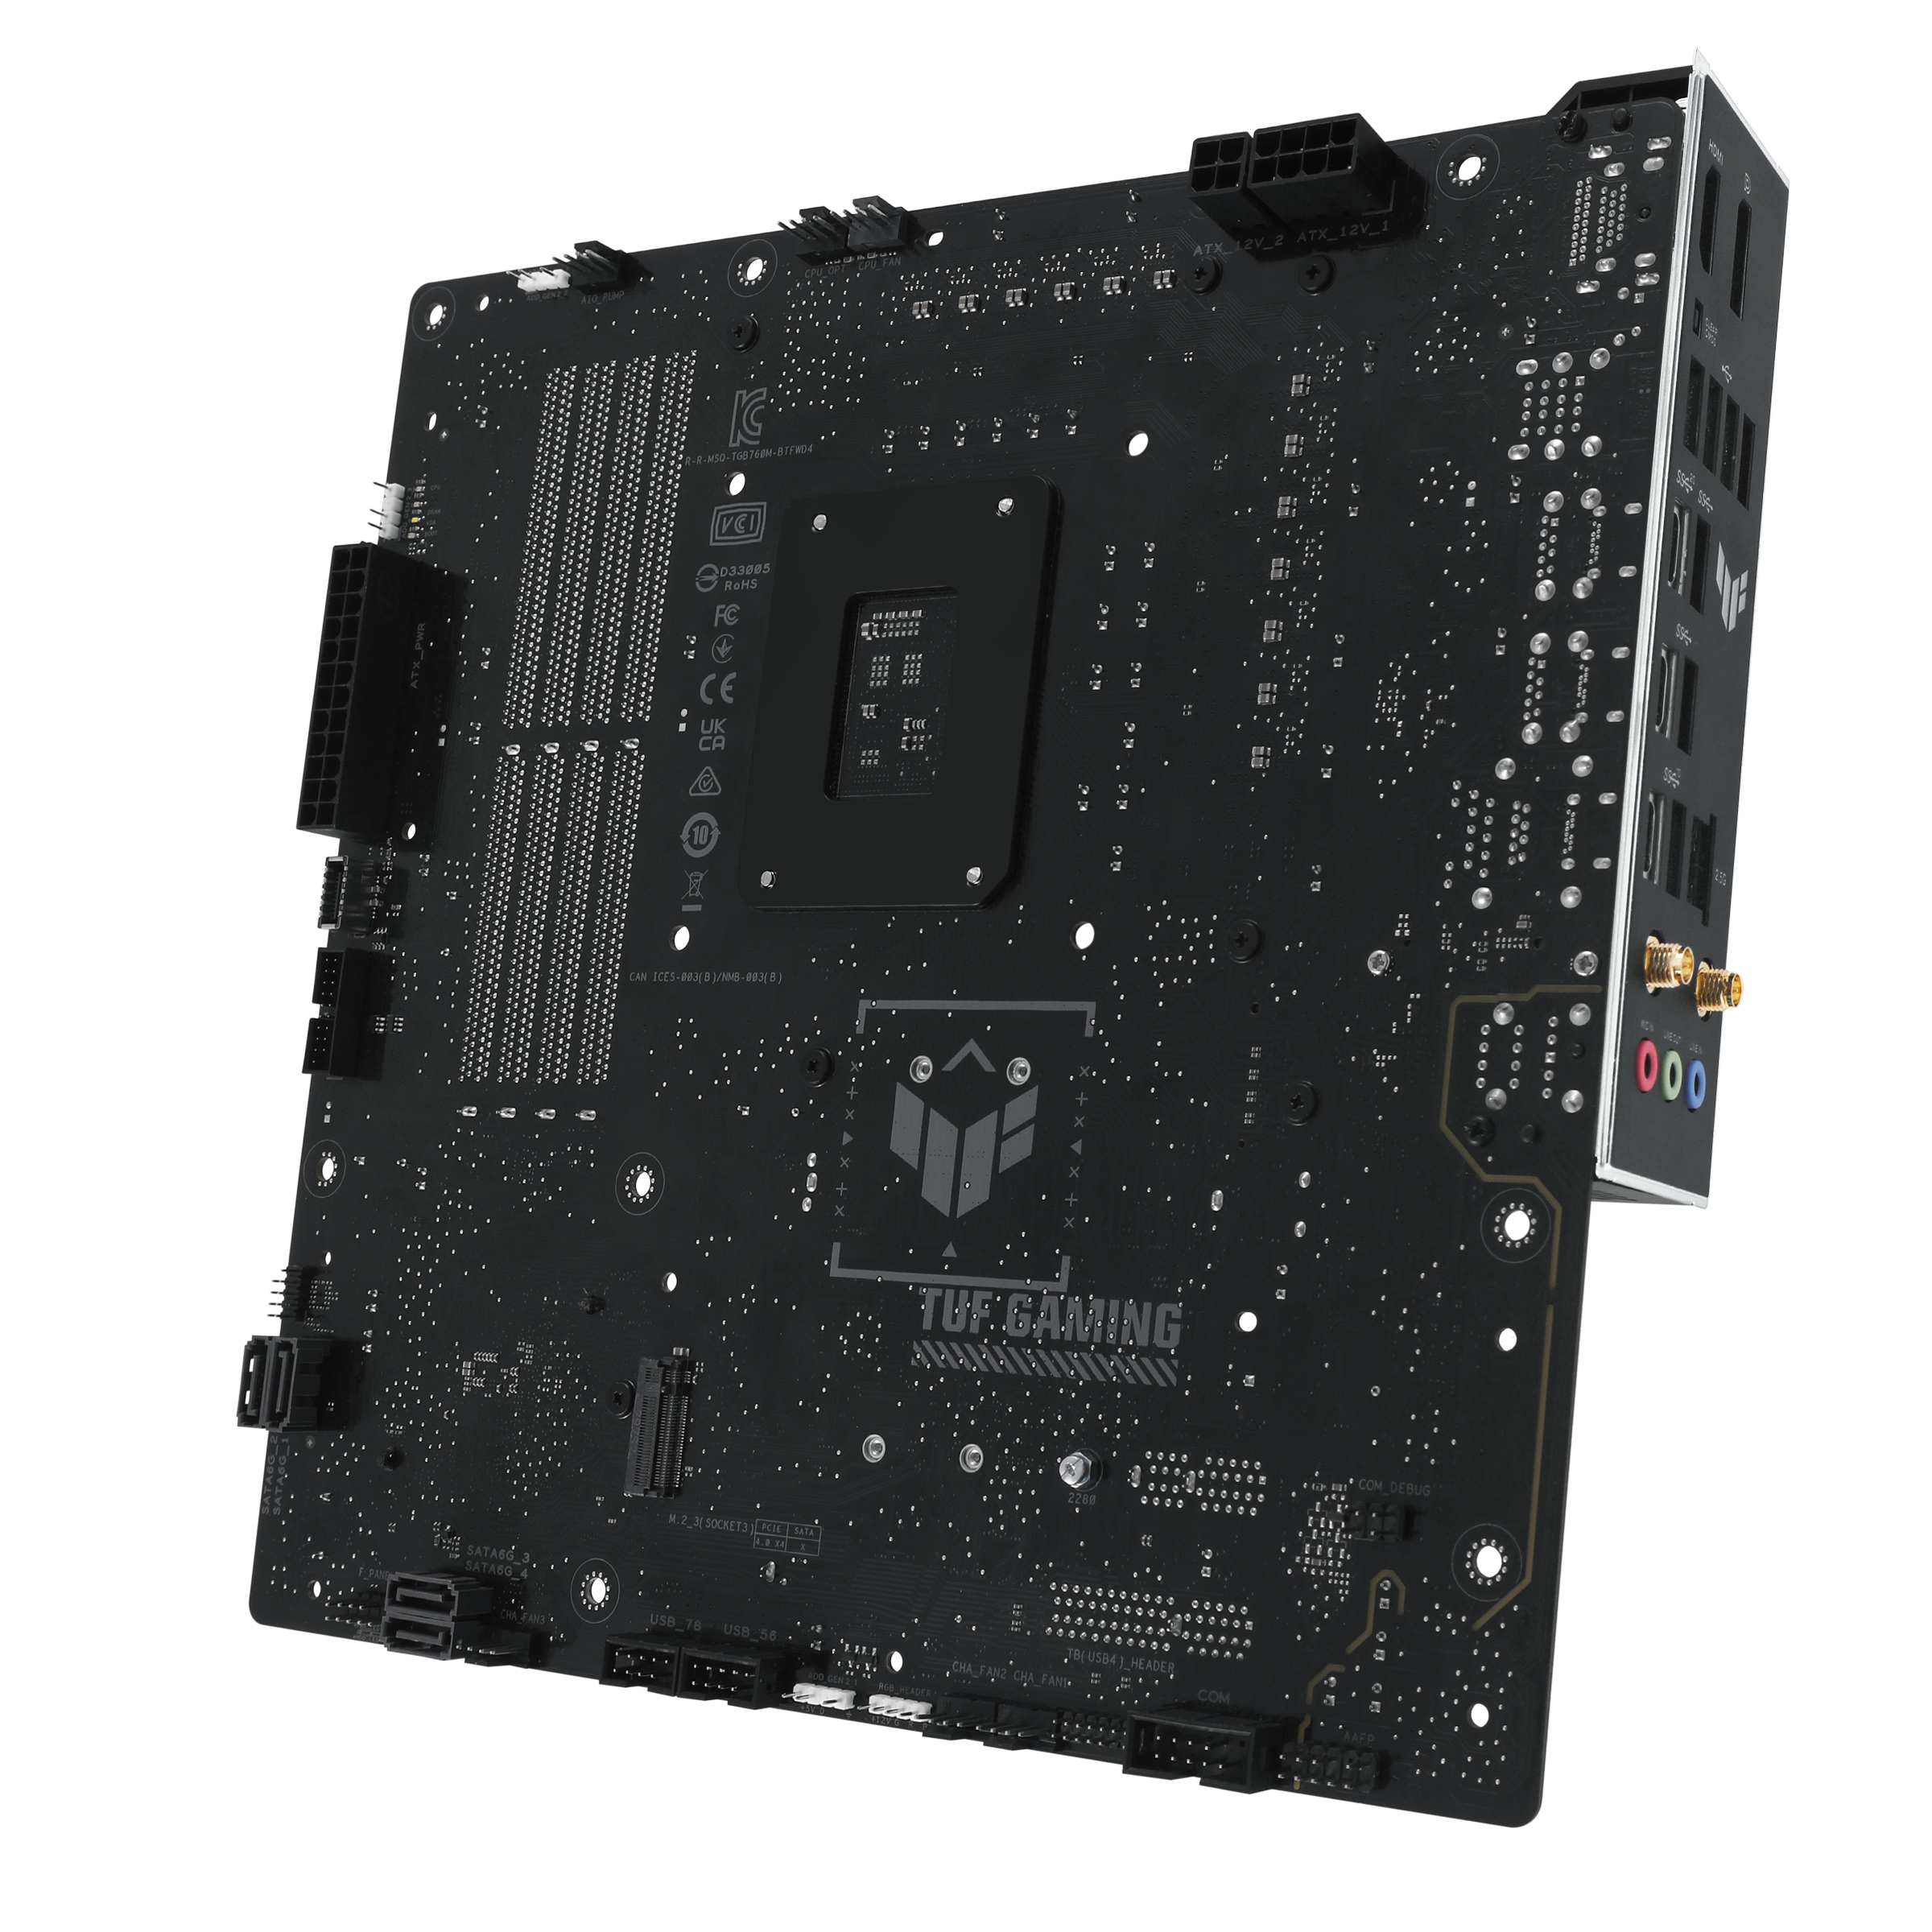
While definitely not a prerequisite for a clean PC build, a motherboard with rear power connectors will significantly improve your next PC’s clean build score. Instead of having to worry about tidying up power cables and routing them through the case in a way that does not break your build’s clean aesthetics, all you have to worry about is getting a suitable enclosure and keeping the backside of the chassis tidy enough to mount the rear panel.
ASUS
While the backside power connector motherboards look fantastic and are perfect for a spotless PC build, they’re still a rather narrow market niche. MSI offers three Project Zero rear connector motherboards , ASUS sells a couple of its BTF motherboard models, and Gigabyte has two rear power connector motherboards in its lineup, one of which features an older Intel Z690 chipset .
If you decide to embark on this endeavor, don’t forget that you’ll also need a chassis compatible with backside power connector motherboards. The Lian Li O11 Vision looks like the best choice, but you also have a couple of options from Corsair: the 6500D Airflow , the all-glass 6500X , and the mATX family that includes the 2500D Airflow, 2500X, and 2500X RGB . For more compatible cases, check out the first comment in the following backside power connector-compatible cases Reddit thread .
2 Stock Up on Zip Ties and Velcro Straps
Considering that you can almost count motherboards with rear power connectors on the fingers of one hand, unless you want to have the cleanest-looking PC ever, I’d recommend opting for a regular motherboard and then making the visible cable management as tight as possible.
The first step needed to make this a reality is stocking up on zip ties and/or Velcro straps. Those are perfect for turning a power cable rat’s nest into something you can post on r/cableporn .
I recommend neatly tying PSU power cables together, in case your PSU doesn’t come with sleeved cables, before connecting power connectors to the motherboard, which will allow you to route them through the case more easily. Also, use grommets, cable hooks, and zip-tie mounts if available (if your PC case doesn’t have built-in zip-tie mounts, you can buy a pack of self-adhesive mounts on Amazon) to route the cables and make them as tidy as possible.
3 Get Custom PSU Cables for the GPU
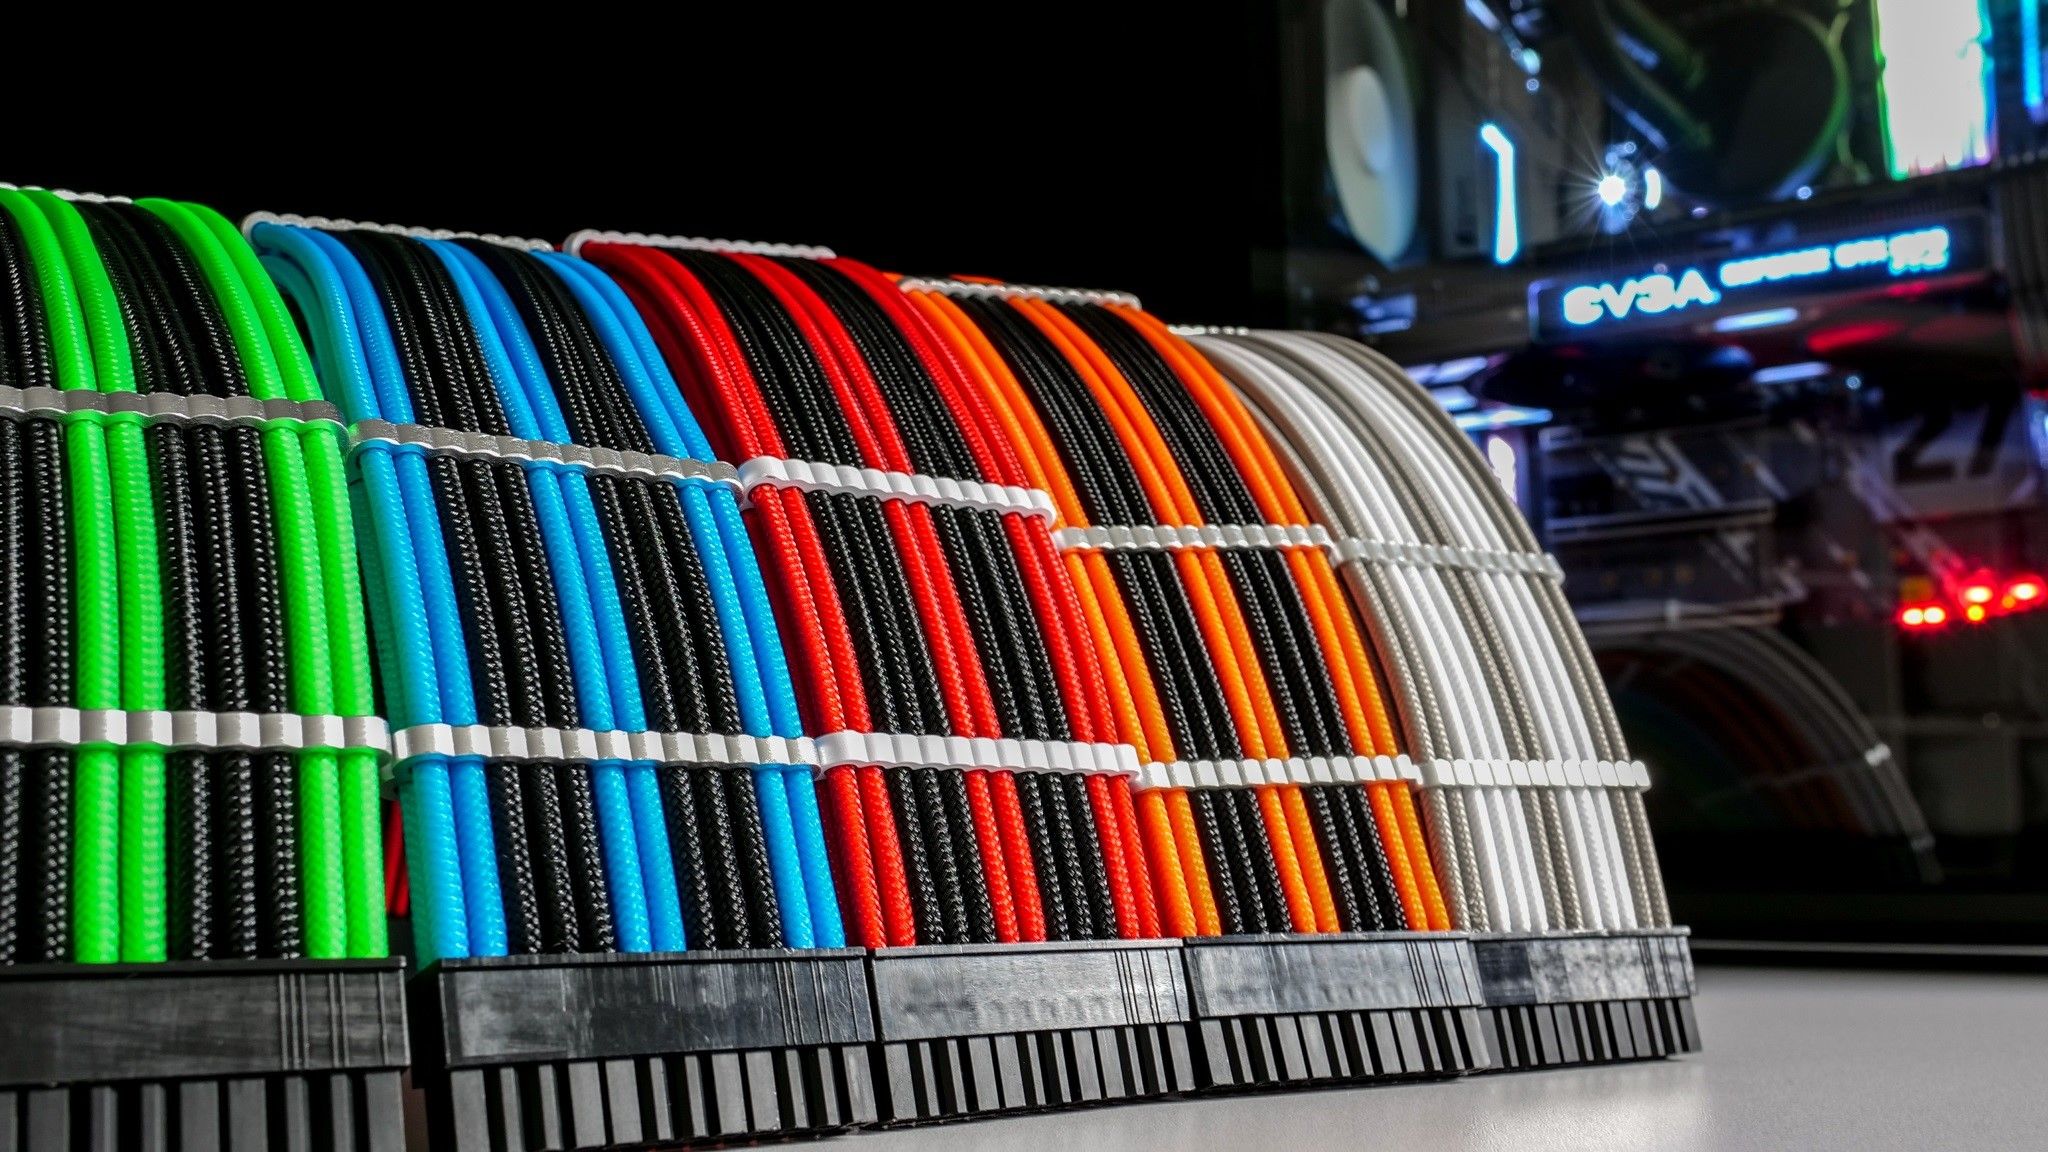
If your PSU doesn’t have sleeved cables, or if you want the insides of your PC case to look as clean as possible, get custom PSU cables for your GPU. You can also get custom motherboard power cables for even cleaner looks and to keep the same visual theme across all power cables, not just those powering your graphics card.
CableMod
The only thing to remember here is to buy custom power cables made explicitly for your PSU model. PSU cables aren’t interchangeable ; using a power cable incompatible with your power supply can damage your PSU or your PC, so don’t use just any cool-looking PSU cable you stumble upon.
4 Mount the GPU Vertically and Use an Angled GPU Power Adapter
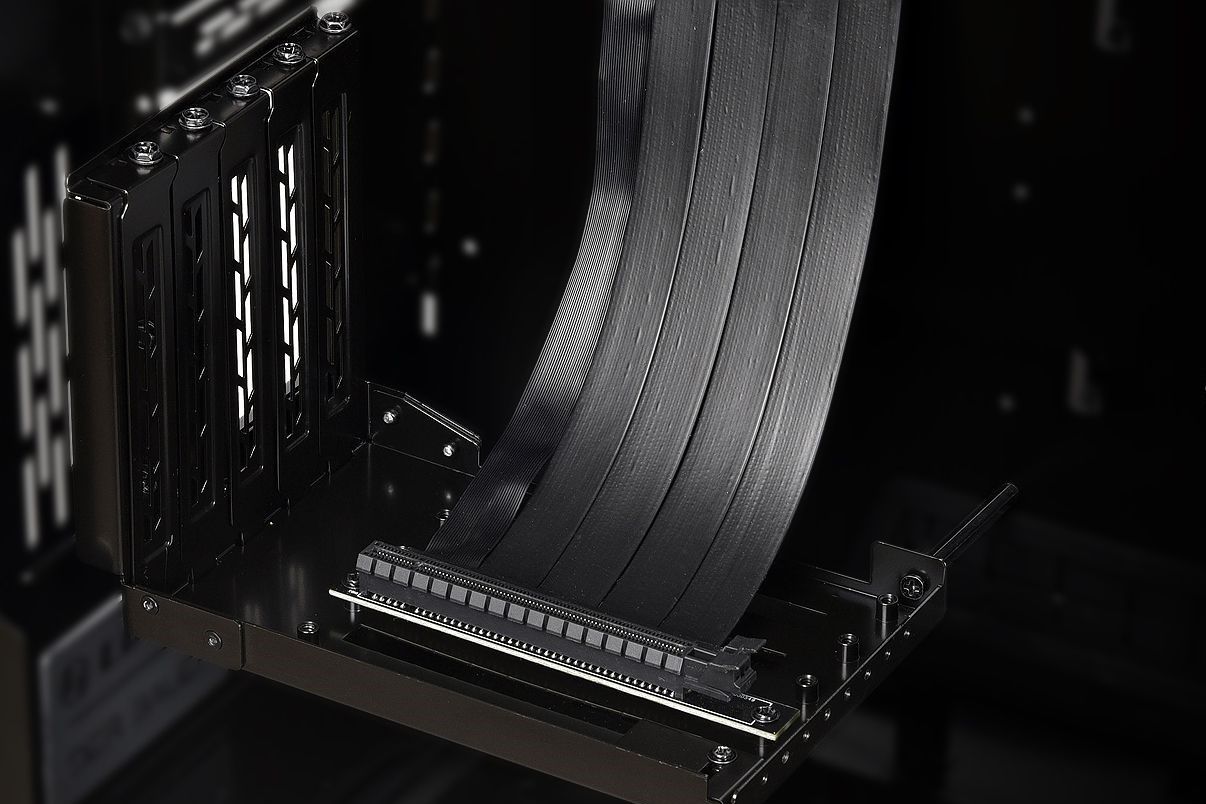
Vertically mounted GPUs arguably look cleaner than horizontally mounted graphics cards because a vertical GPU puts the focus on its fans and overall visual design instead of making the power connector and cables sticking out of it the first thing you see when you look inside your PC case.
Lian Li
Many modern PC cases support a vertical GPU mount; you might only need a vertical GPU adapter if your case doesn’t include one. You’ll also need a PCIe riser cable for your graphics card.
If you decide to follow the vertical GPU mount route, you ought to also get an angled power adapter for your graphics card. This way, you won’t have to bend your GPU power cables, and you can route them in a way that makes them virtually invisible.
If you own an RTX 4090 graphics card or plan to buy one for your next PC build, avoid CableMod 12VHPWR angled power connectors , and 12VHPWR angled power connectors in general. They can overheat, or even melt and damage your GPU.
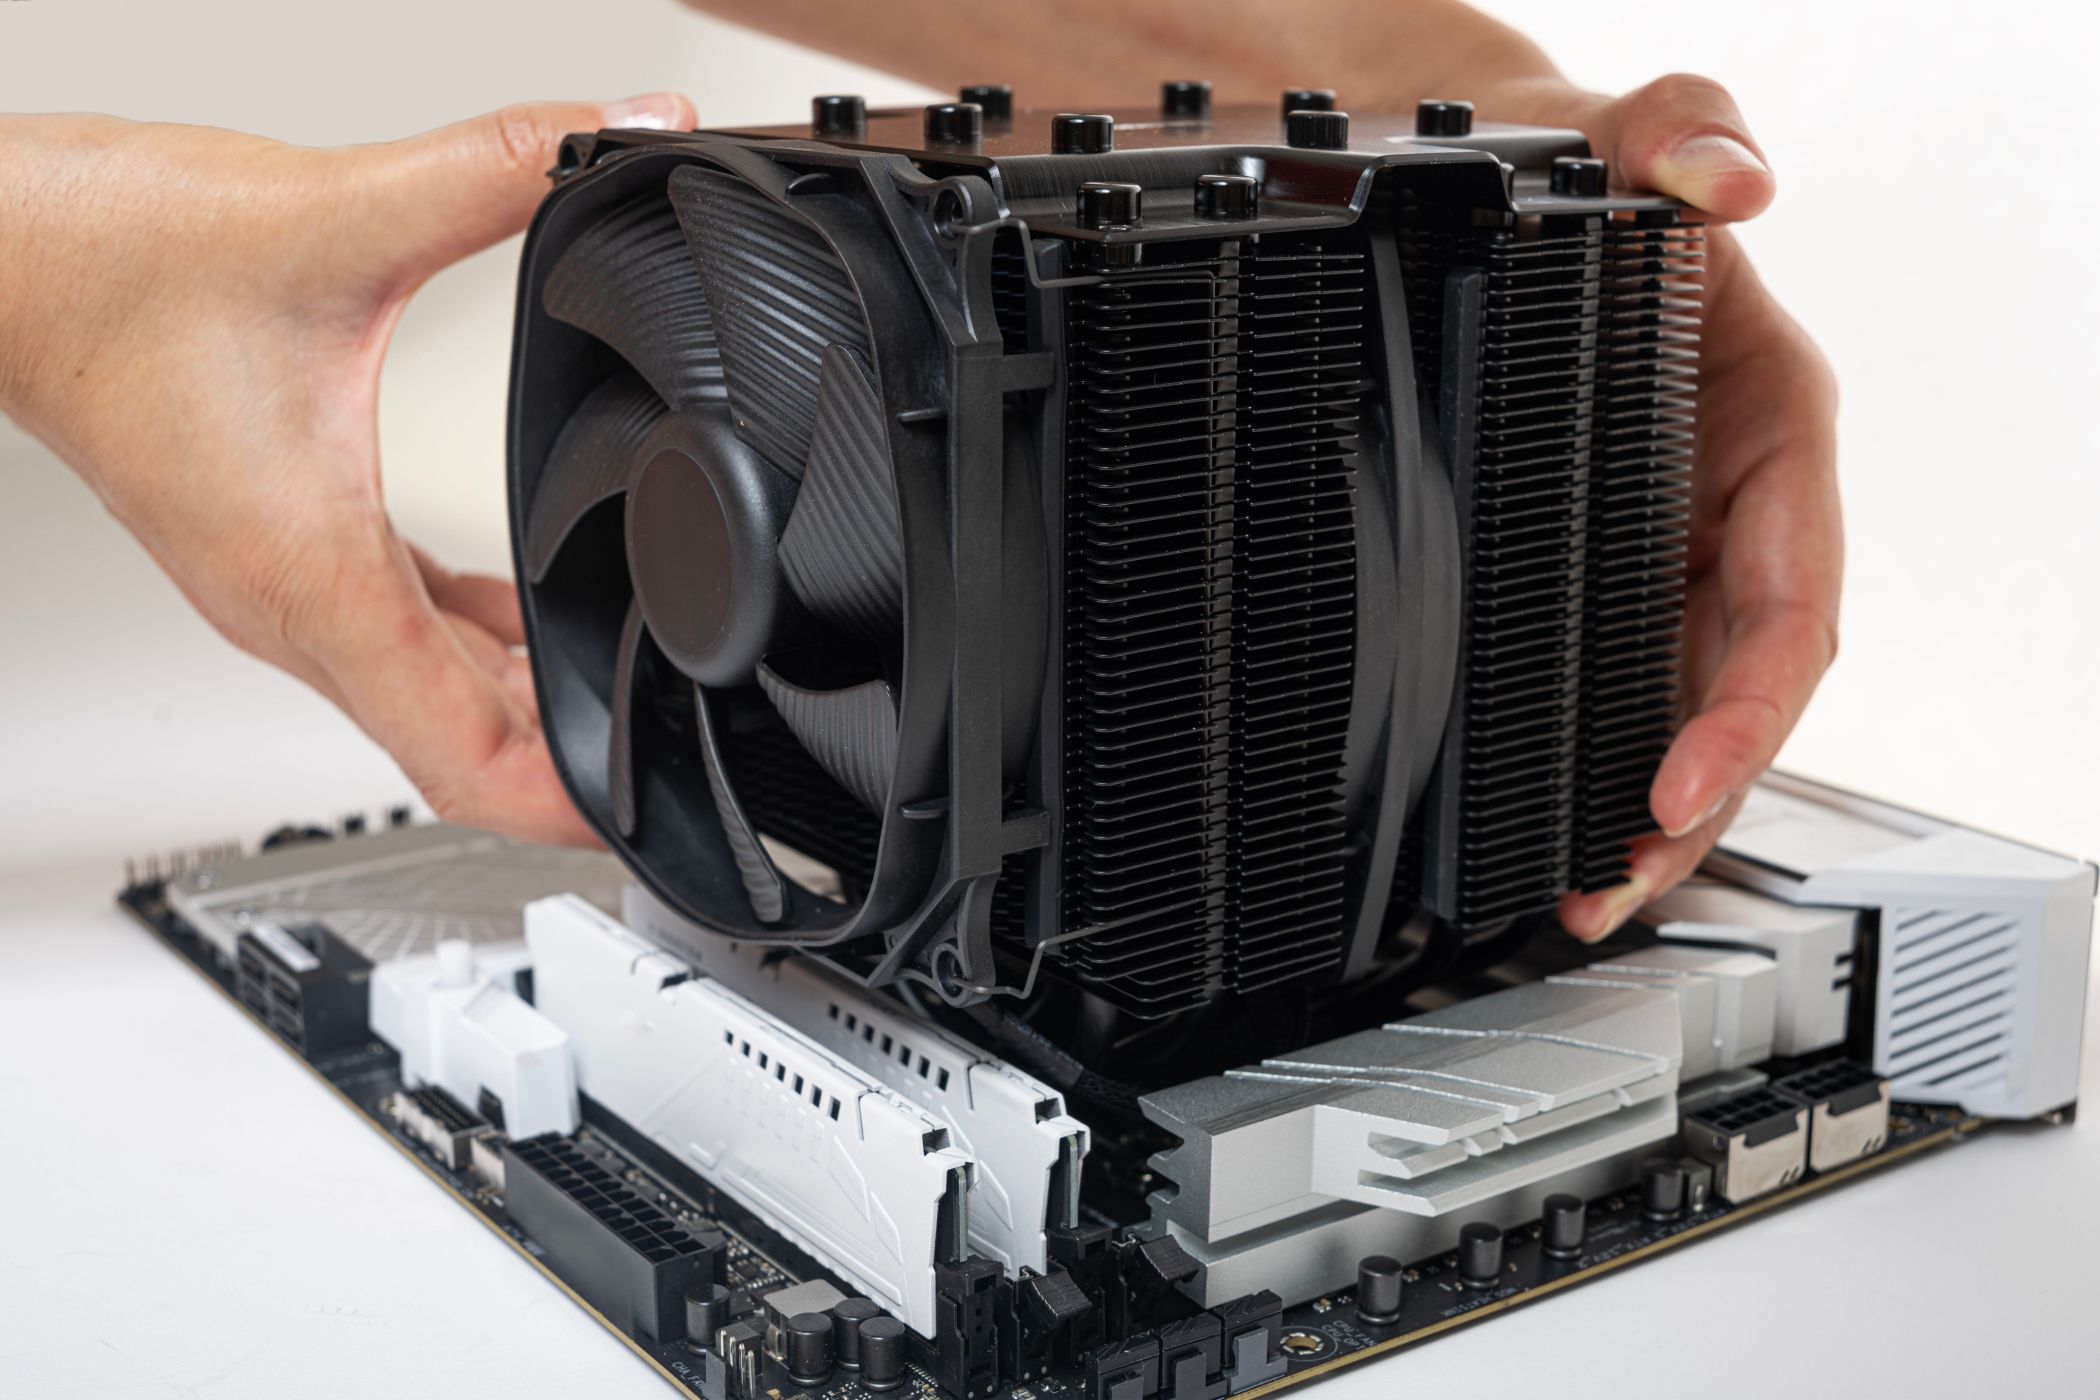
5 Use a CPU Air Cooler Instead of an AIO
Liquid AIO CPU coolers may look cool, but they all have tubes sticking out of the pump you need to route through your case; there’s simply no way of hiding them. You can tie them up with Velcro straps, but they’ll still be visible from all angles.
Den Rozhnovsky / Shutterstock.com
If you don’t want AIO tubes messing up your clean build, get a CPU air cooler instead of using an AIO. Air coolers don’t have tubes, and they can look super-clean—as long as you get one that complements the aesthetic direction you’re going for. Lastly, unless you plan to get a flagship Intel CPU and overclock the hell out of it, even mid-range air coolers are more than powerful enough to keep every CPU out there in check That said, I recommend avoiding 13th and 14th-gen flagship Intel CPUs; it looks like they suffer from various stability issues.
6 Use SATA SSDs and HDDs Only if They Aren’t Visible
Modern PC enclosures usually come with a couple of SATA SSD/HDD mounting brackets. Those brackets are almost exclusively hidden from view, residing in the depths of the PSU shroud or at the back of the motherboard tray.
However, some cases include visible SATA storage mounts, and those don’t have a place in a clean PC build. While they don’t have visible screws/screw mounting holes for securing storage drives, mounting a SATA SSD or HDD means you’ll have two cables—the power and SATA cable—sticking out of the drive, messing up the visuals.
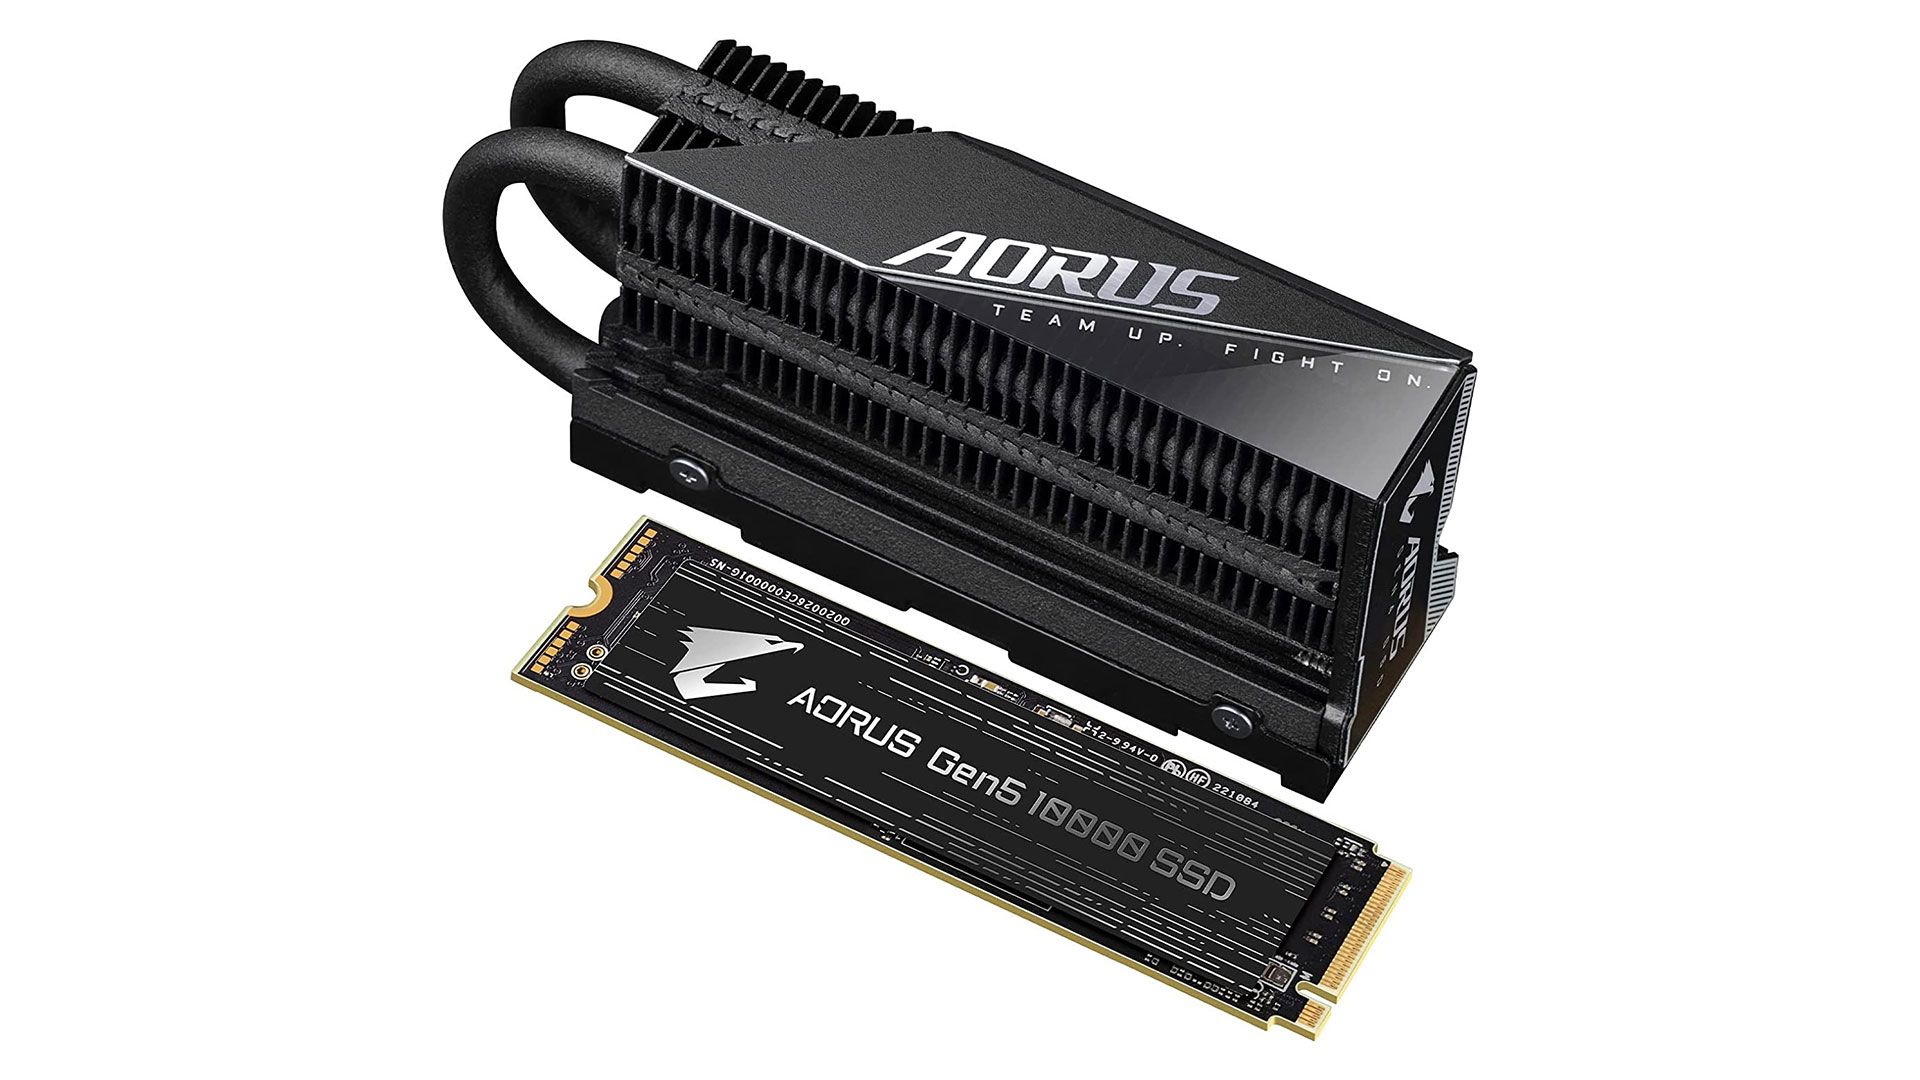
7 Forget About NVMe SSDs With Custom Heatsinks
Another detail that can run a clean PC build is having a high-end NVMe SSD with a huge, super-thick custom heatsink installed on top of it sticking out from the motherboard. That’s a recipe for messing up a clean PC build, especially if said heatsink comes in a color that doesn’t match the rest of the components.
Gigabyte
The good news is that you won’t need a heatsink at all unless you buy a high-end PCIe 5.0 NVMe SSD that requires a custom heatsink to avoid thermal throttling . Even better, built-in motherboard heatsinks should be fine even for flagship PCIe 5.0 SSDs unless you plan on torturing the poor drive by copying a bunch of small files from and to it 24/7.
8 Use Modular, Cableless Case Fans
Even just a few PC case fans can create a cable mess inside your PC tower, especially if you’re going for a high airflow build that can contain half a dozen fans, each coming with its own cable you need to route to a motherboard header or a standalone RGB controller.
The term cable spaghetti wouldn’t even begin to describe the mess half a dozen RGB case fans can leave inside your PC case after you finish installing them.
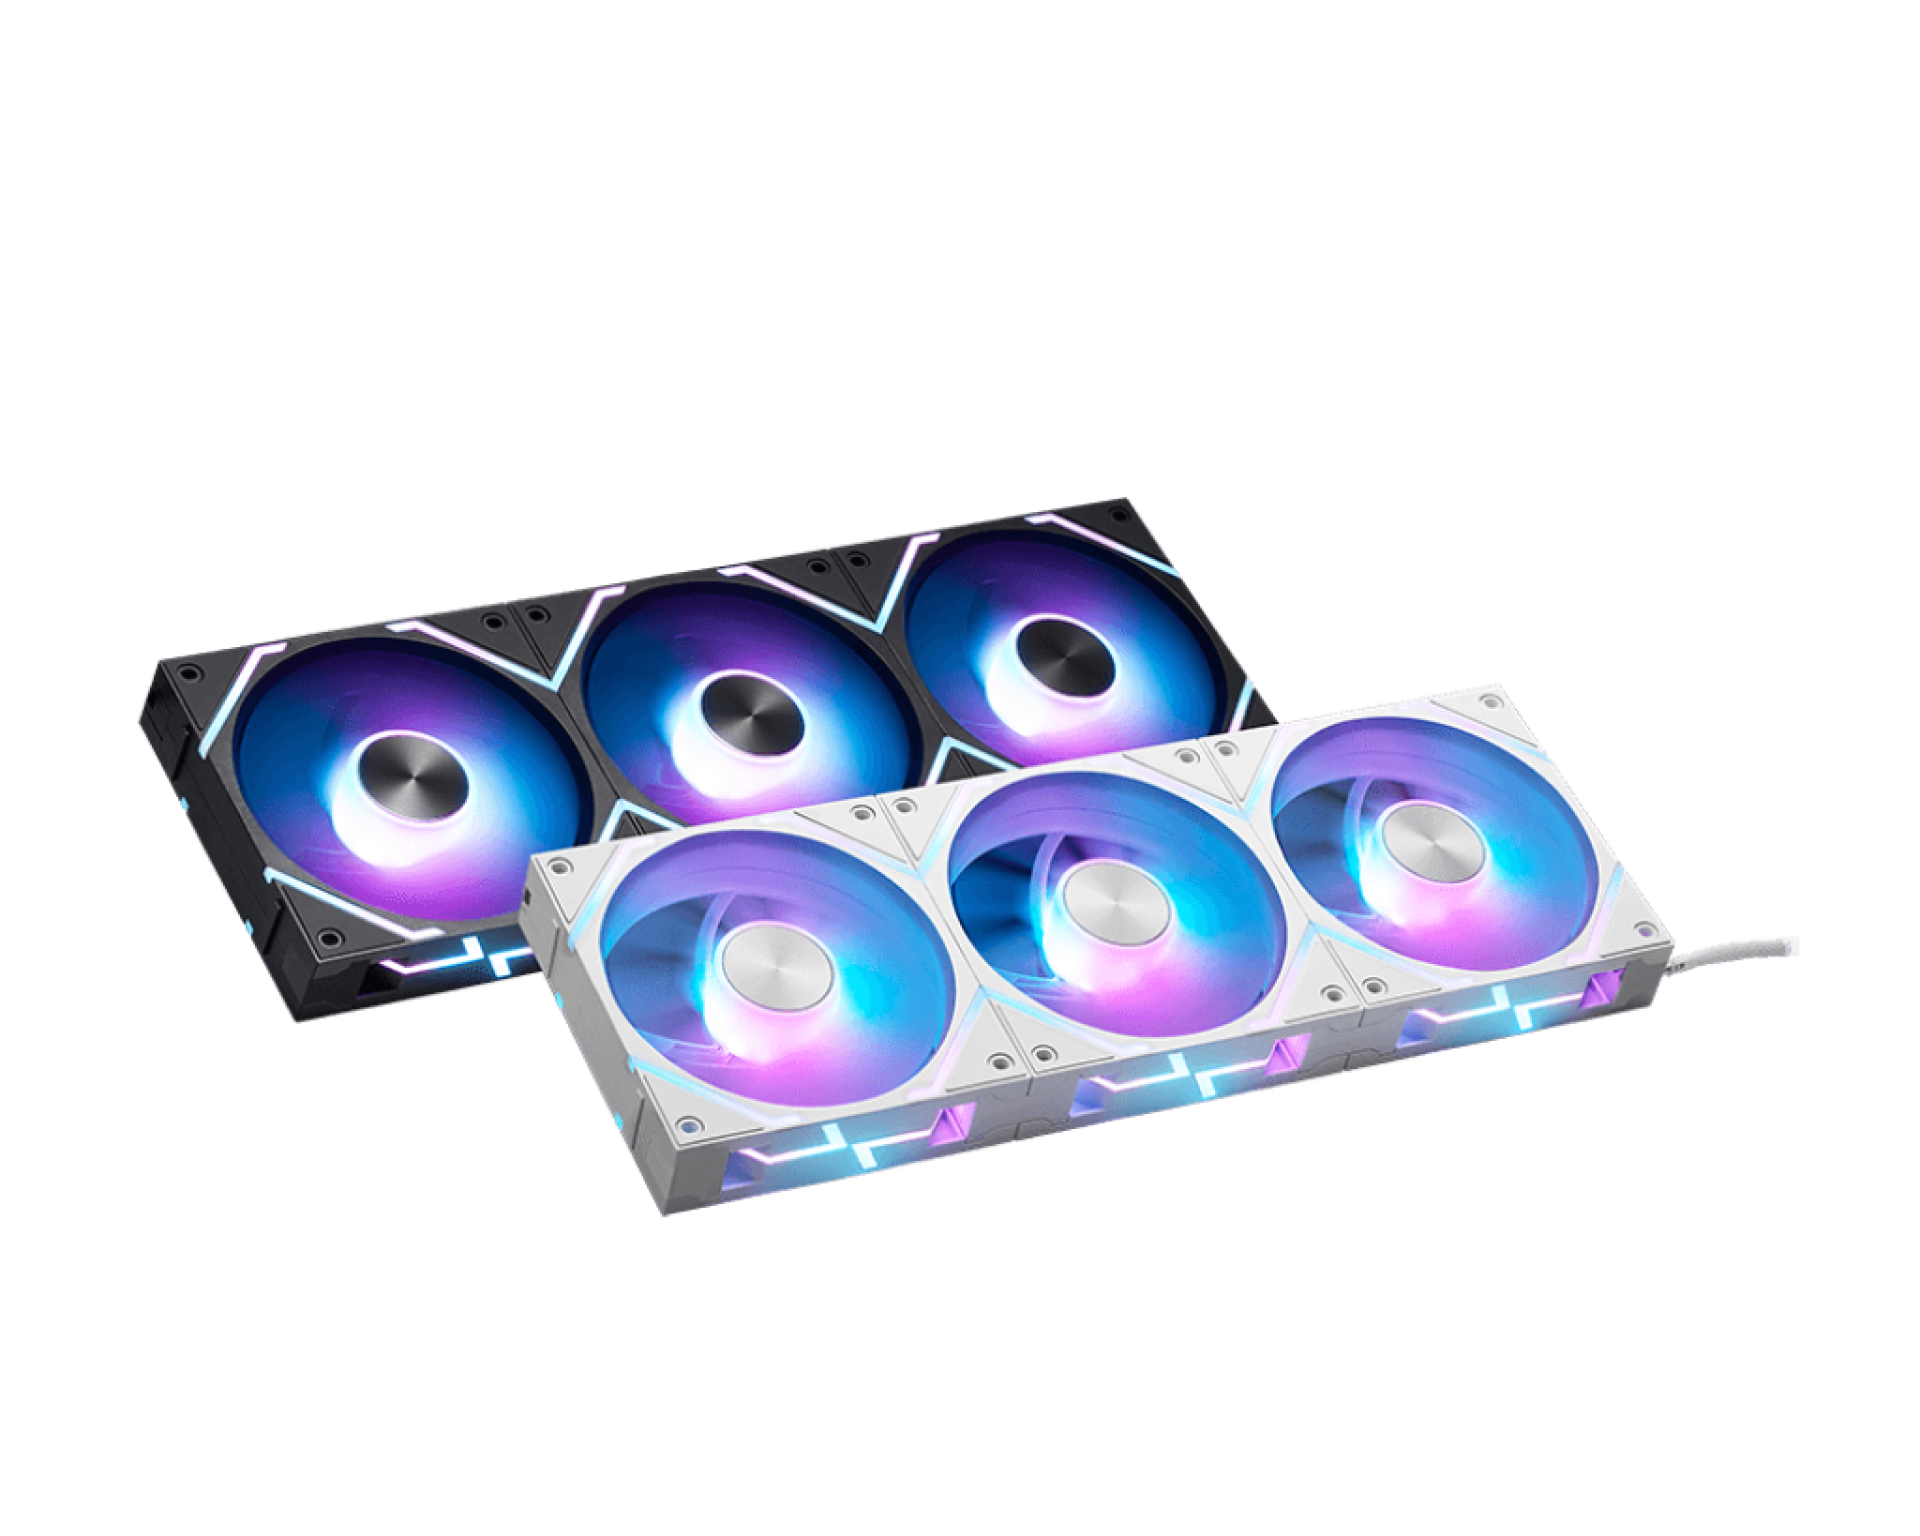
PC component manufacturers have noticed the issue, so they decided to offer us (almost) cableless case fans that either use magnetic connectors , as in the case of MSI’s MPG EZ120 fans, or simple USB-like connectors, as seen on some high-end Corsair and Lian Li case fans.
MSI
These design improvements allow you to daisy-chain multiple fans and only use a single cable to connect the whole stack to the motherboard or the included RGB controller. This way, you will transform cable spaghetti into a single, innocuous spaghetto.
Aside from the MPG EZ120 fans, you can also use the Corsair iCUE LINK LX120 and QX120 fans , or the Lian Li UNI Fan SL .
9 Get a 4-Stick RAM Kit or Use Dummy RAM Sticks
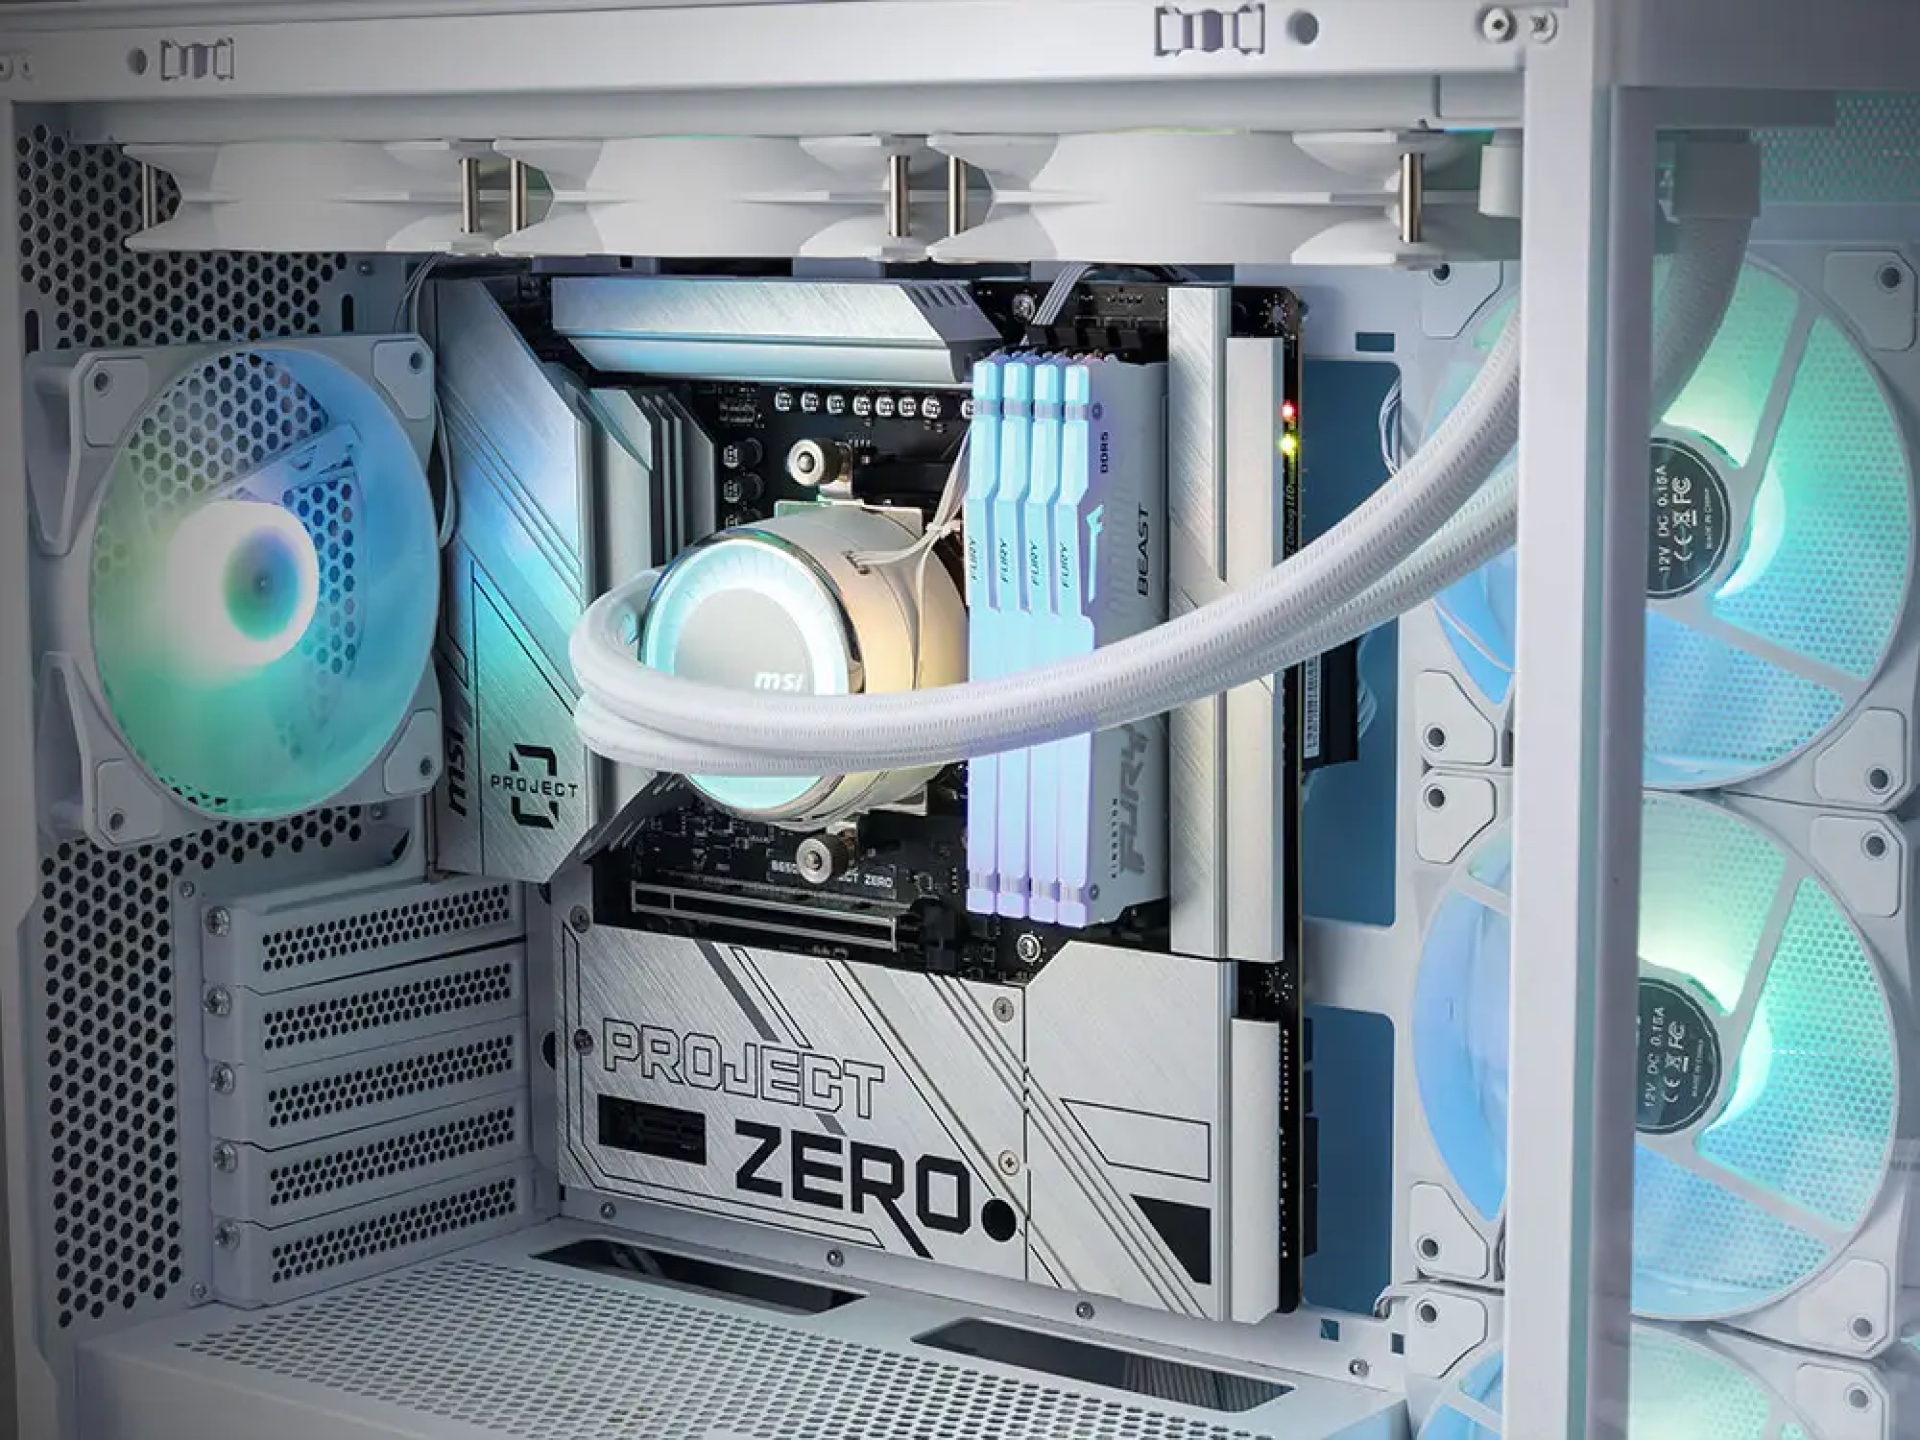
One tiny detail most of us might not even notice is a no-no in some clean PC build circles: having only two sticks of RAM and leaving two of your motherboard’s DIMM slots empty; creating asymmetry that can hurt the eyes of some PC purists.
MSI
If you can’t stand the look of two empty DIMM slots, either get a 4-stick RAM kit or use a kit with dummy RAM sticks. While there’s a healthy choice of dummy DDR4 RAM kits, DDR5 kits that include dummy sticks are virtually non-existent. In other words, if you’re using DDR5 memory, the best course of action is getting a 4-stick memory kit.
10 Do Not Mix and Match Colors
Mixing and matching colors in a clean PC build can quickly make it look anything but clean. More than two colors can give off-putting vibes, especially if you’re going for the “unicorn barf” RGB look, which is the complete opposite of a clean PC build.
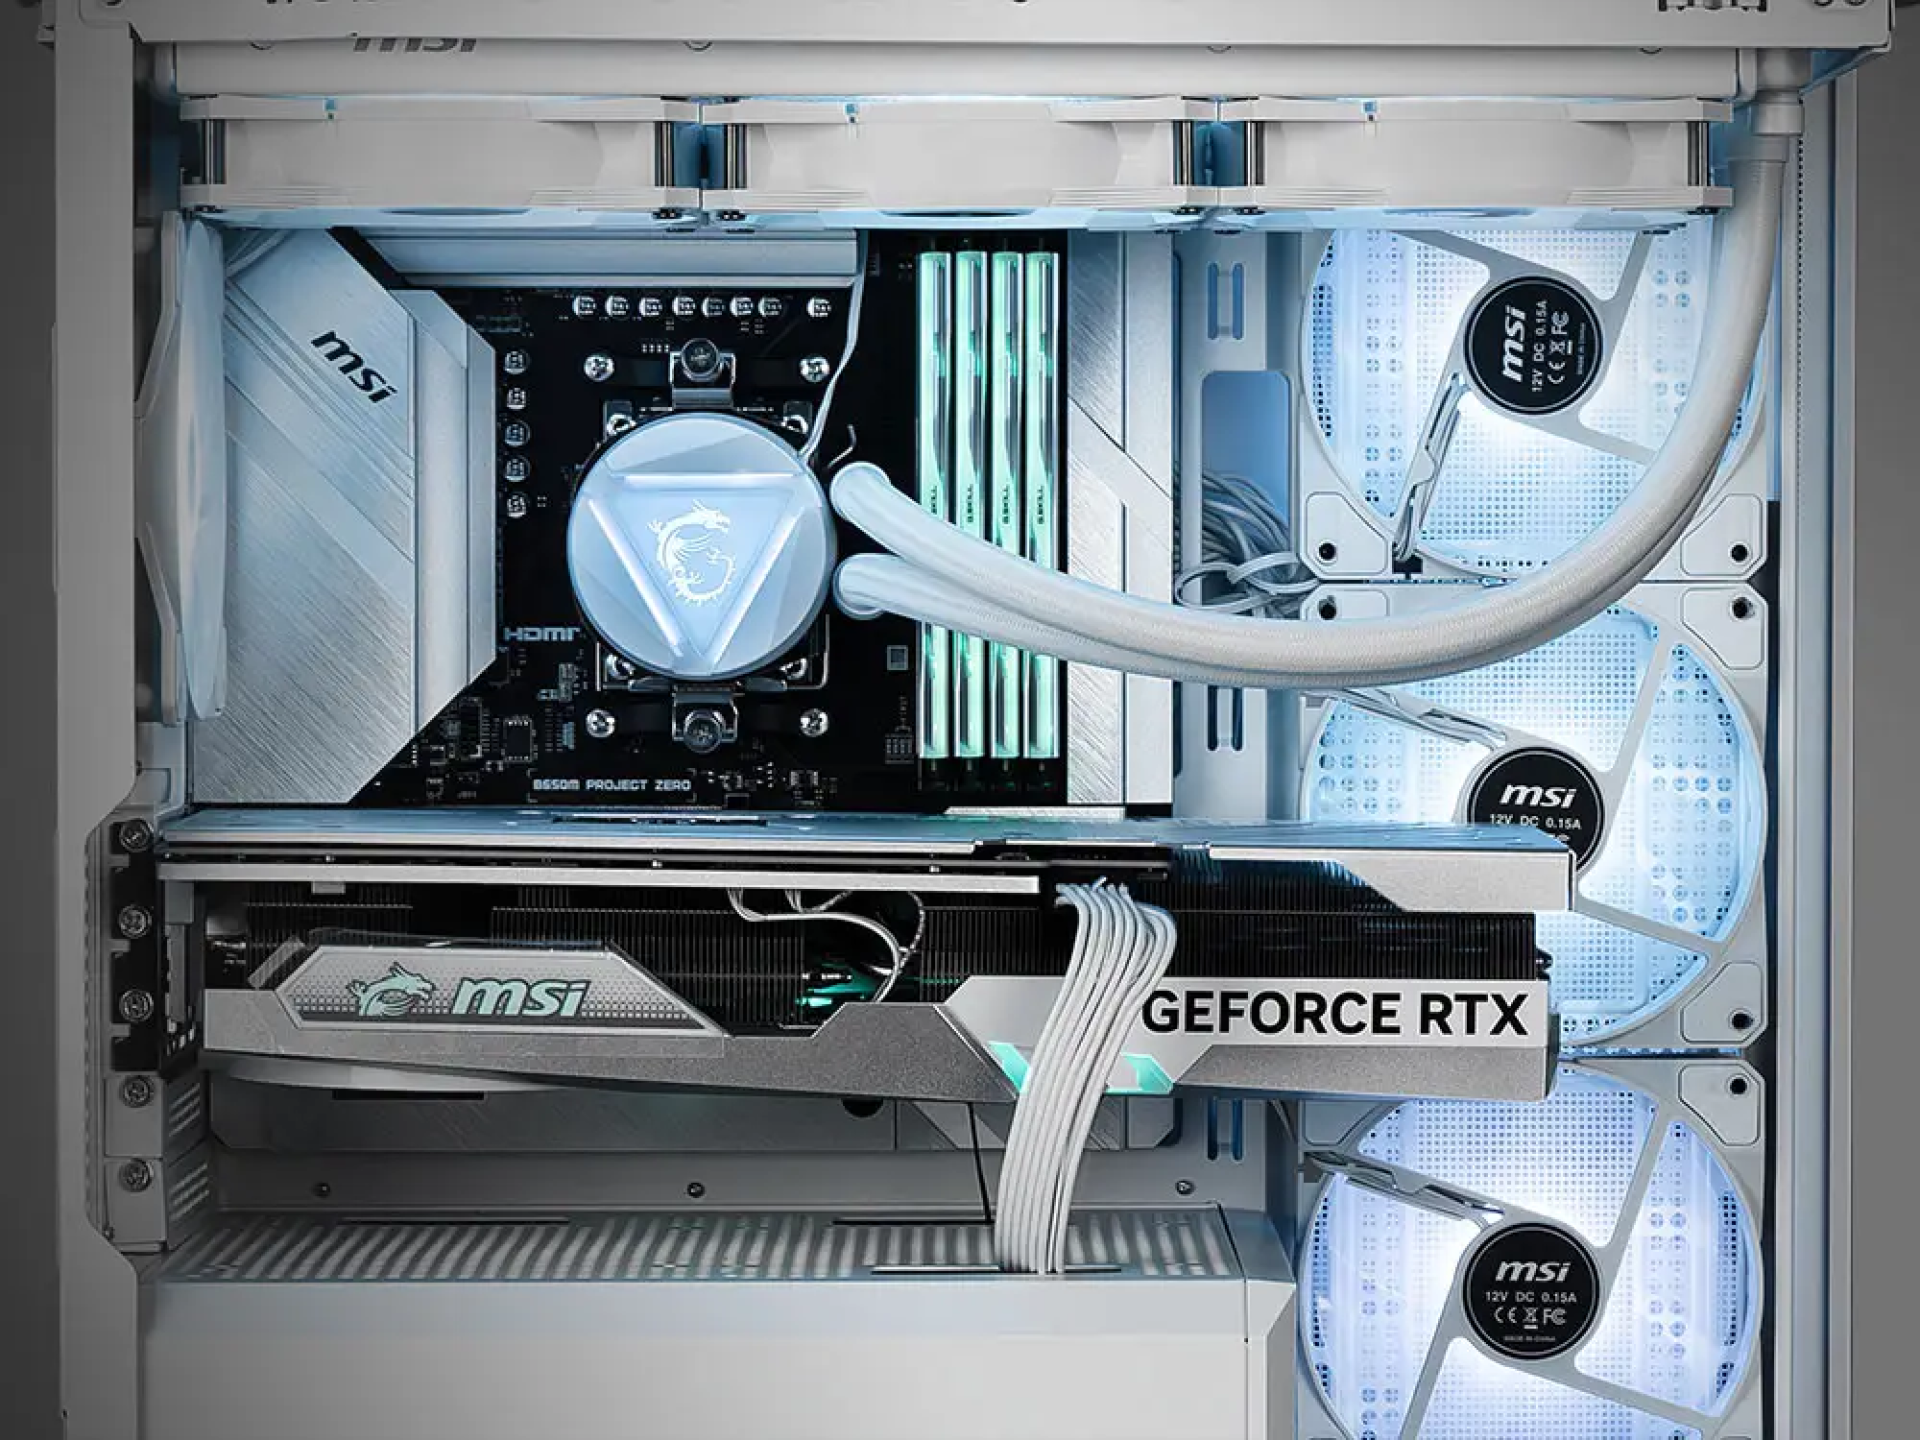
For the best visual experience, limit yourself to just a couple of component colors at most. For example, you can build an entirely white PC but include a couple of black case fans for a nice and tasty dose of contrast. Or go for a white build but use components with black details, such as black rubber case grommets, or gray and black details on the motherboard.
If you’ve opted for RGB fans, GPU, and motherboard, sync those RBG elements into a single color or combine them into up to two shades that complement each other and the rest of the components. For example, a completely black PC build can look great with dark violet RGB contrasted with orange or dark green details. Or you can only use white lighting and go for a contrasty yet spotless aesthetic.
MSI
Similarly, a full-white build will look much better with all-white lighting or primarily white with just a dash of turquoise on RAM sticks for a minimal yet colorful visual theme that’s still pretty darn clean-looking. Whatever you do, do not release the full unicorn vomit power onto your clean PC build.
Also read:
- [New] Step-by-Step Guide to Pause & Extend Videos on Snapchat for 2024
- [Updated] 2024 Approved Premier Video Call Alternatives Zoom's Rivalry Explained
- [Updated] Ultimate Racer Replicas Our Top Games
- [Updated] YouTube's Celebrated Click-It Achievements for 2024
- Download Elgato Drivers with Ease - Fast & Secure Methods Revealed!
- Expert Insights Into Computing & Gadgets with Tom's Hardware Review
- Inside Tom's Computer Gear: Comprehensive Hardware Analysis
- Liquid Serenity: Crafting the Perfect Whisper-Quiet Computer System to Dive Into Your Own Maze Adventure
- Master the Update Process: How to Refresh Your ATI Radeon Drivers on a Windows Machine
- Maximizing View Quality on Team Meetings in MS Teams for 2024
- Step-by-Step Guide to Taming Your Inbox: Mastering Gmail Labels
- Taking Control of Your Apple Devices: The Latest Self-Repair Feature for Tech Savvy Owners
- Tom's Tech Insights: Your Ultimate Guide to Computer Components
- Tom's Tech Review: In-Depth Analysis of Latest Computer Components
- Tom's Tech Reviews: Expert Insights on Cutting-Edge Hardware
- Tom's Tech Reviews: The Ultimate Guide to Computer Components
- Top Rated Outside-the-Case BD/DVD Burners: The Ultimate Picks
- Title: 1. Ultimate Guide: Achieving an Immaculate Desktop Computer Setup
- Author: Joseph
- Created at : 2024-10-14 05:59:49
- Updated at : 2024-10-19 03:03:25
- Link: https://hardware-help.techidaily.com/1-ultimate-guide-achieving-an-immaculate-desktop-computer-setup/
- License: This work is licensed under CC BY-NC-SA 4.0.